


")


How to transfer files between Mac and Windows over Wi-Fi

When using computers in offices and schools, not all of them use Windows OS computers. There may also be MacBook users. In this case, if you want to transfer files between two computers with different OS, you will need to transfer files using a single hard disk or a USB stick that can be used in the file systems of both OSes.
What if you don’t have a hard disk or USB stick, for some reason, you don’t have a computer? Yes, you can easily transfer files over Wi-Fi. Both OSes have built-in features for this, so there’s no need to worry. All you need to do is connect your Windows PC and Mac to the same Wi-Fi network. While it’s easy to share files from Windows to macOS (formerly OS X), connecting Windows to Mac is a bit more advanced than connecting a Mac to Windows to use Windows’ file sharing capabilities.
Sharing Files From Mac to Windows PC
We will first show you how to share files from a Mac to a Windows PC.
- First, you need to create a user account on your Mac. You can share files with Windows without creating a user account, but if you create a file sharing account with an administrator account, Windows will have access to your entire Macintosh HD, so you won’t be very secure in terms of security and privacy. So, I recommend creating a separate user account for sharing.
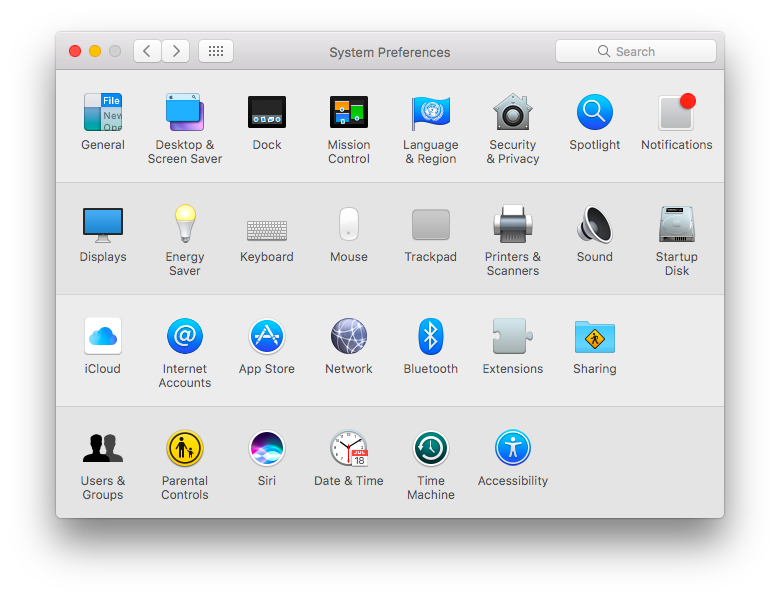
- To create a user account, go to “Users & Groups” in System Preferences. You can also type Users & Groups from Command + Space Bar.
- Once you’re in Users & Groups, you’ll need to unlock the lock below by entering your Mac username and password to change the settings.
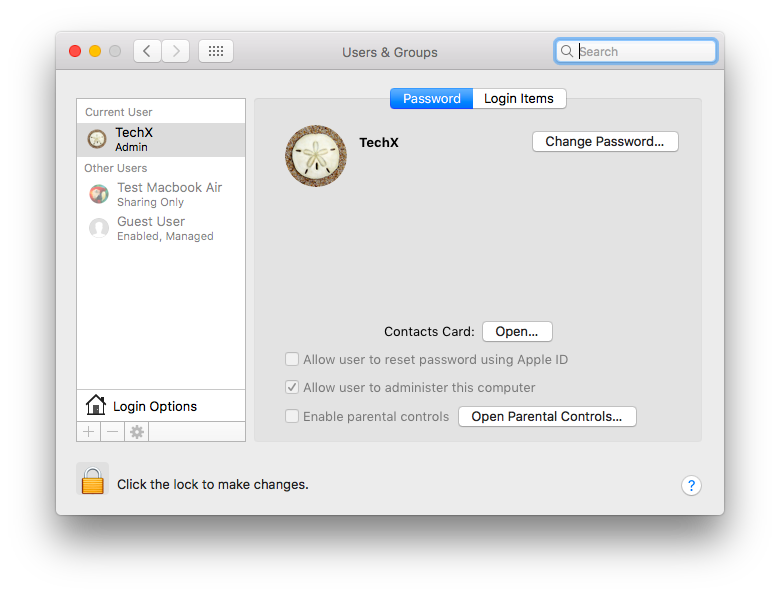
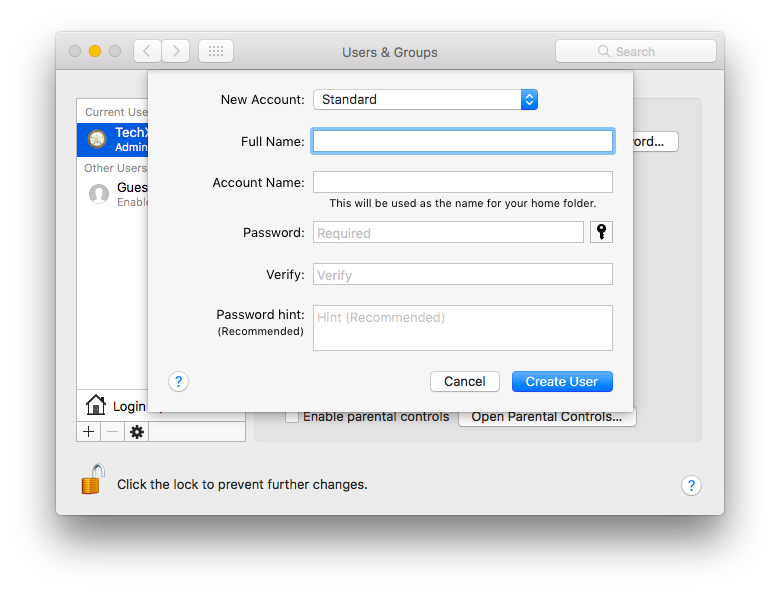
- Then, click the + icon below Login Options and create a User Account. In the New Account section, change the setting from Standard to Sharing Only, and enter the Account Name and Password you want. Then, click Create. When you log in to Windows, you will need to re-enter the Account Name and Password for this new User Account.
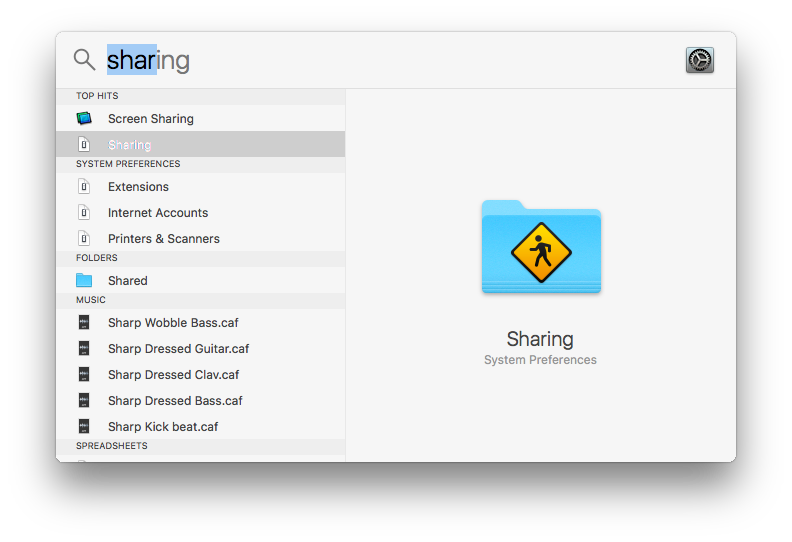
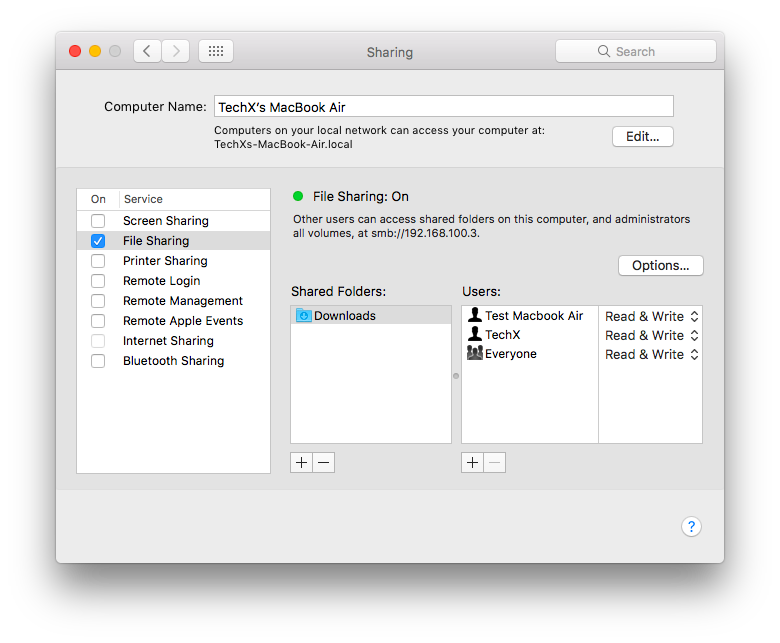
- Once you’ve created a user account, go to your Mac’s System Preferences and go to Sharing. You can also type “Sharing” by pressing Command + Space Bar.
- Then, check the box for File Sharing. If it’s not checked, you can click the lock icon at the bottom and enter your Mac’s username and password to change it.
- Once File Sharing is turned on, click Options at the bottom and check the box next to “Share files and folders using SMB.”
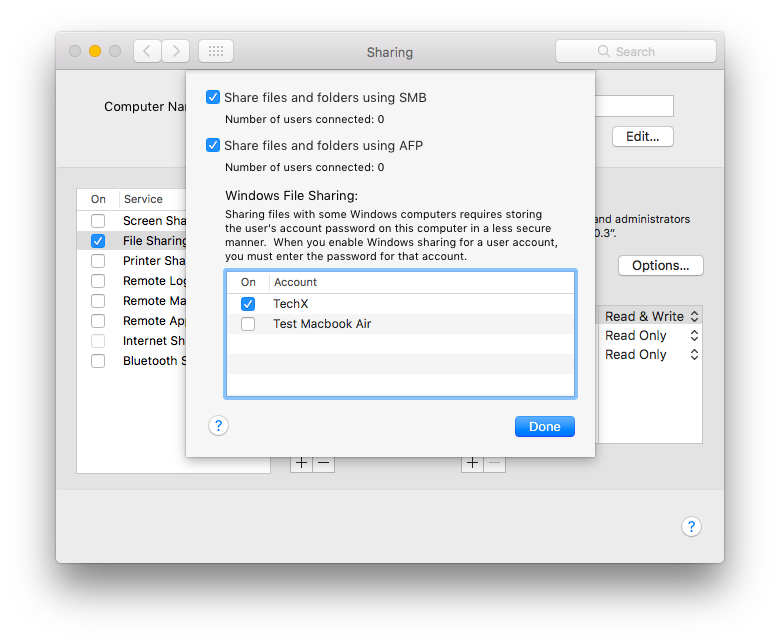
- Under Windows File Sharing, under Account, uncheck your Administrator account and add the Sharing account you just created. Then click Done.
- At this stage, you can share the folders you want to share with Windows from the Sharing window by clicking the + icon in the “Shared Folders” box. Next to “Users”, add the Sharing Account and set the Permissions as you wish. If you want Windows to copy files from it, set it to Read Only, and if you want Windows to add or paste files into the Shared Folder, set it to “Read & Write”.
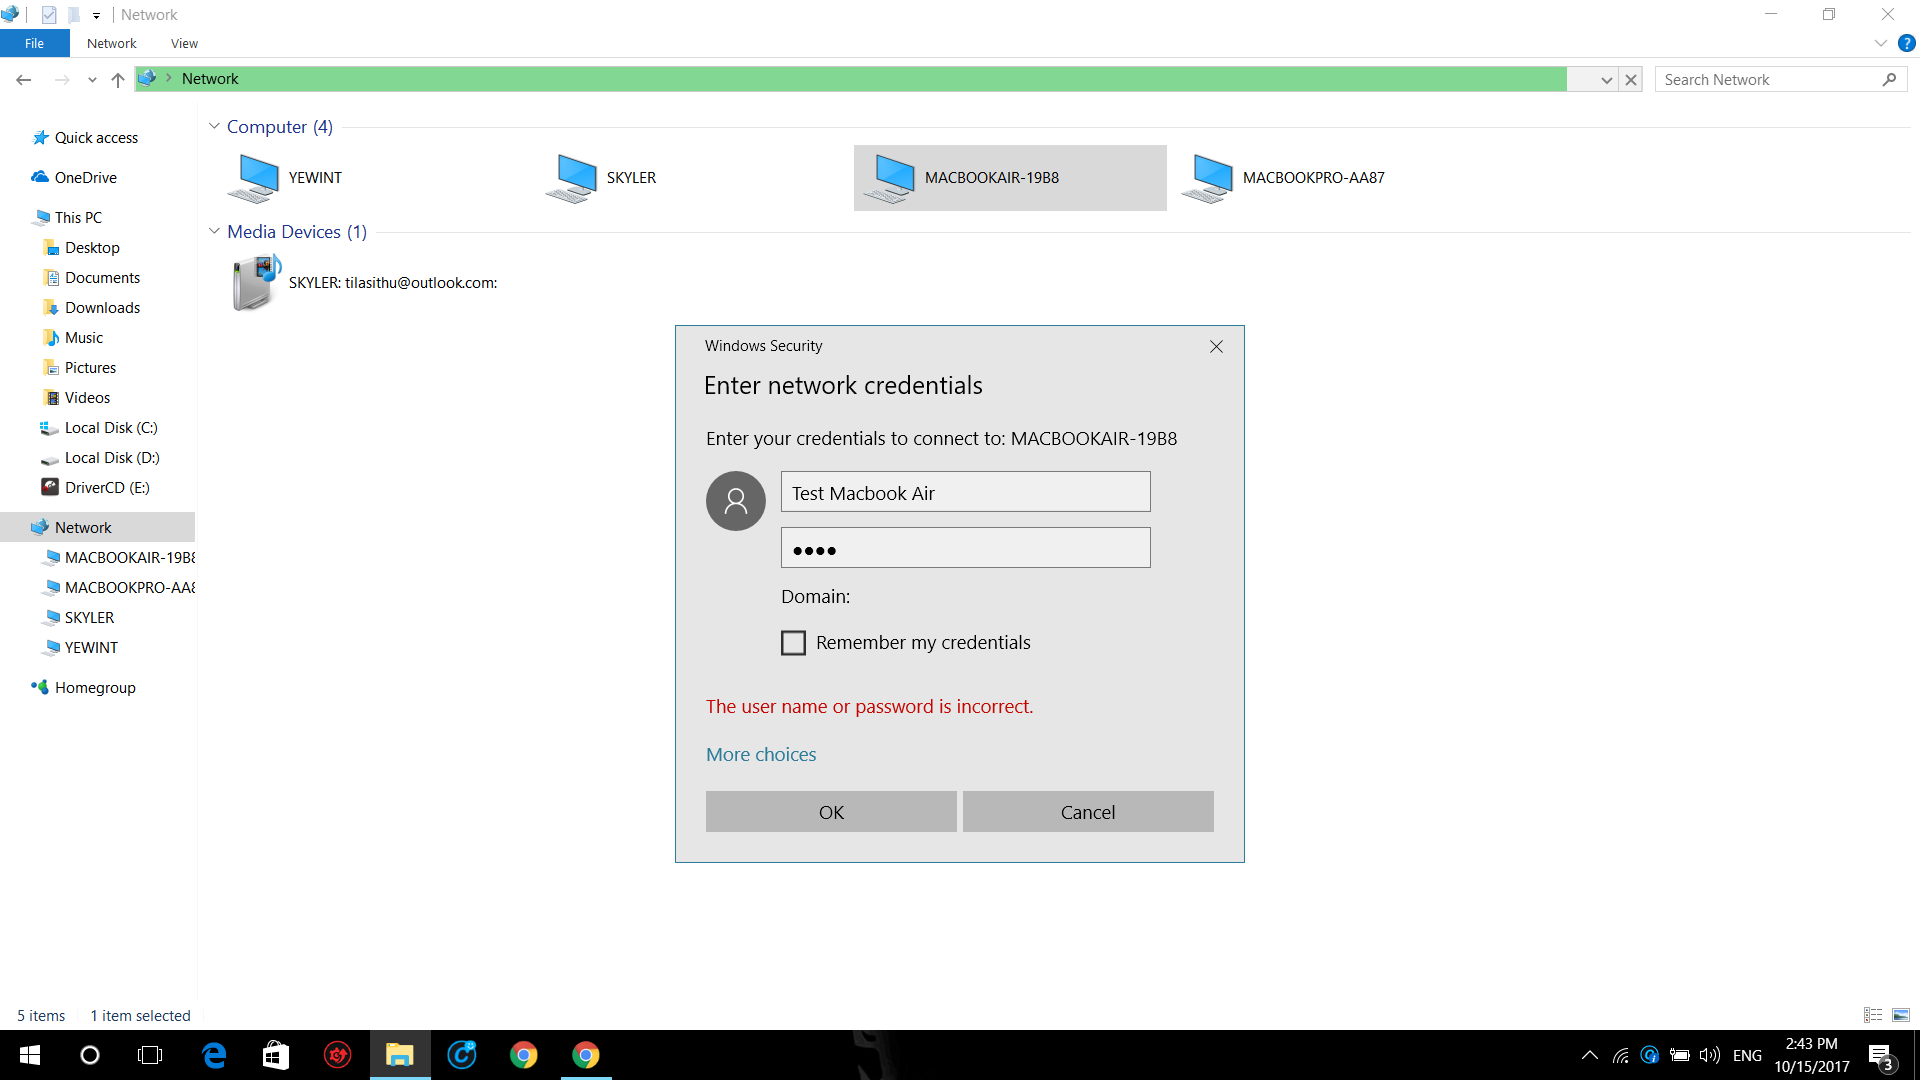
- Now, in File Explorer on your Windows PC, your MacBook will appear under Network. Double-click it and a Credentials box will appear to connect. Now, enter the Username and Password of the new user account you just created on your Mac.
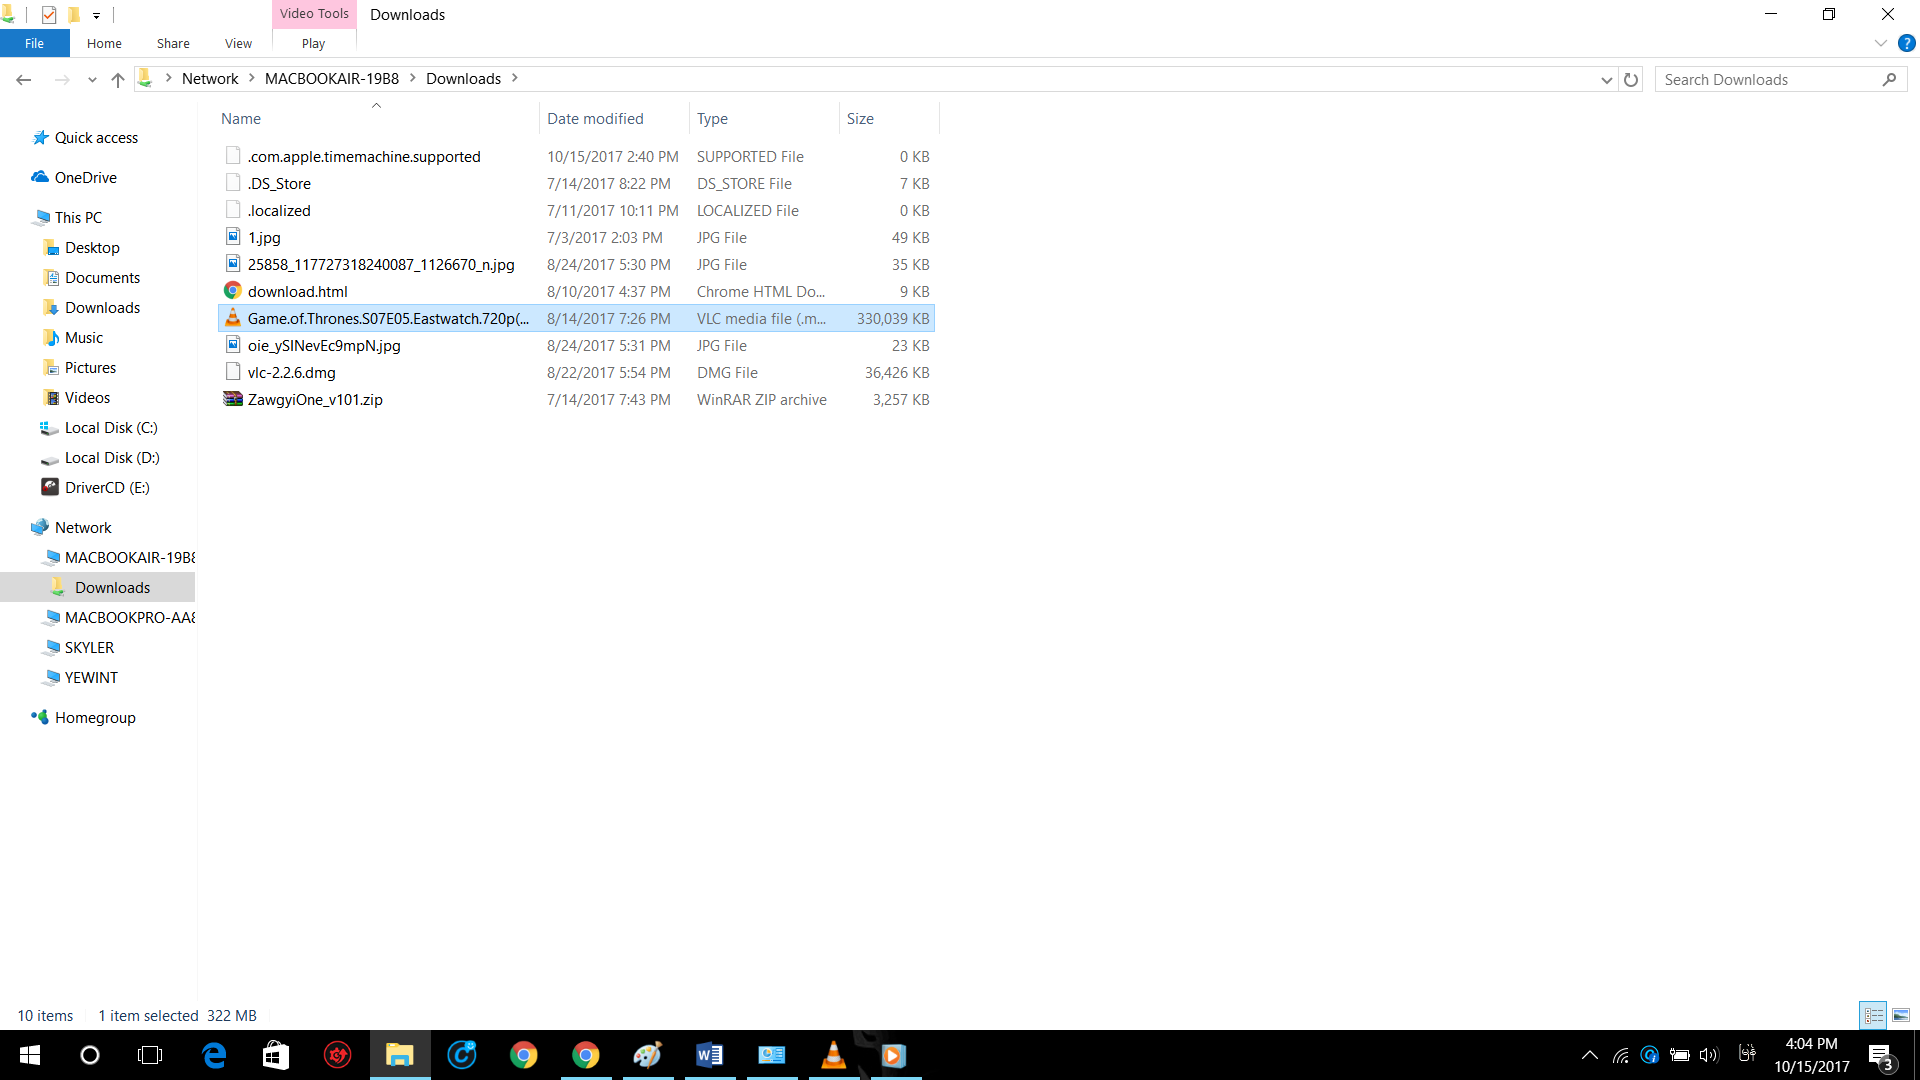
- Now you can access and use files and folders shared from your Mac from Windows.
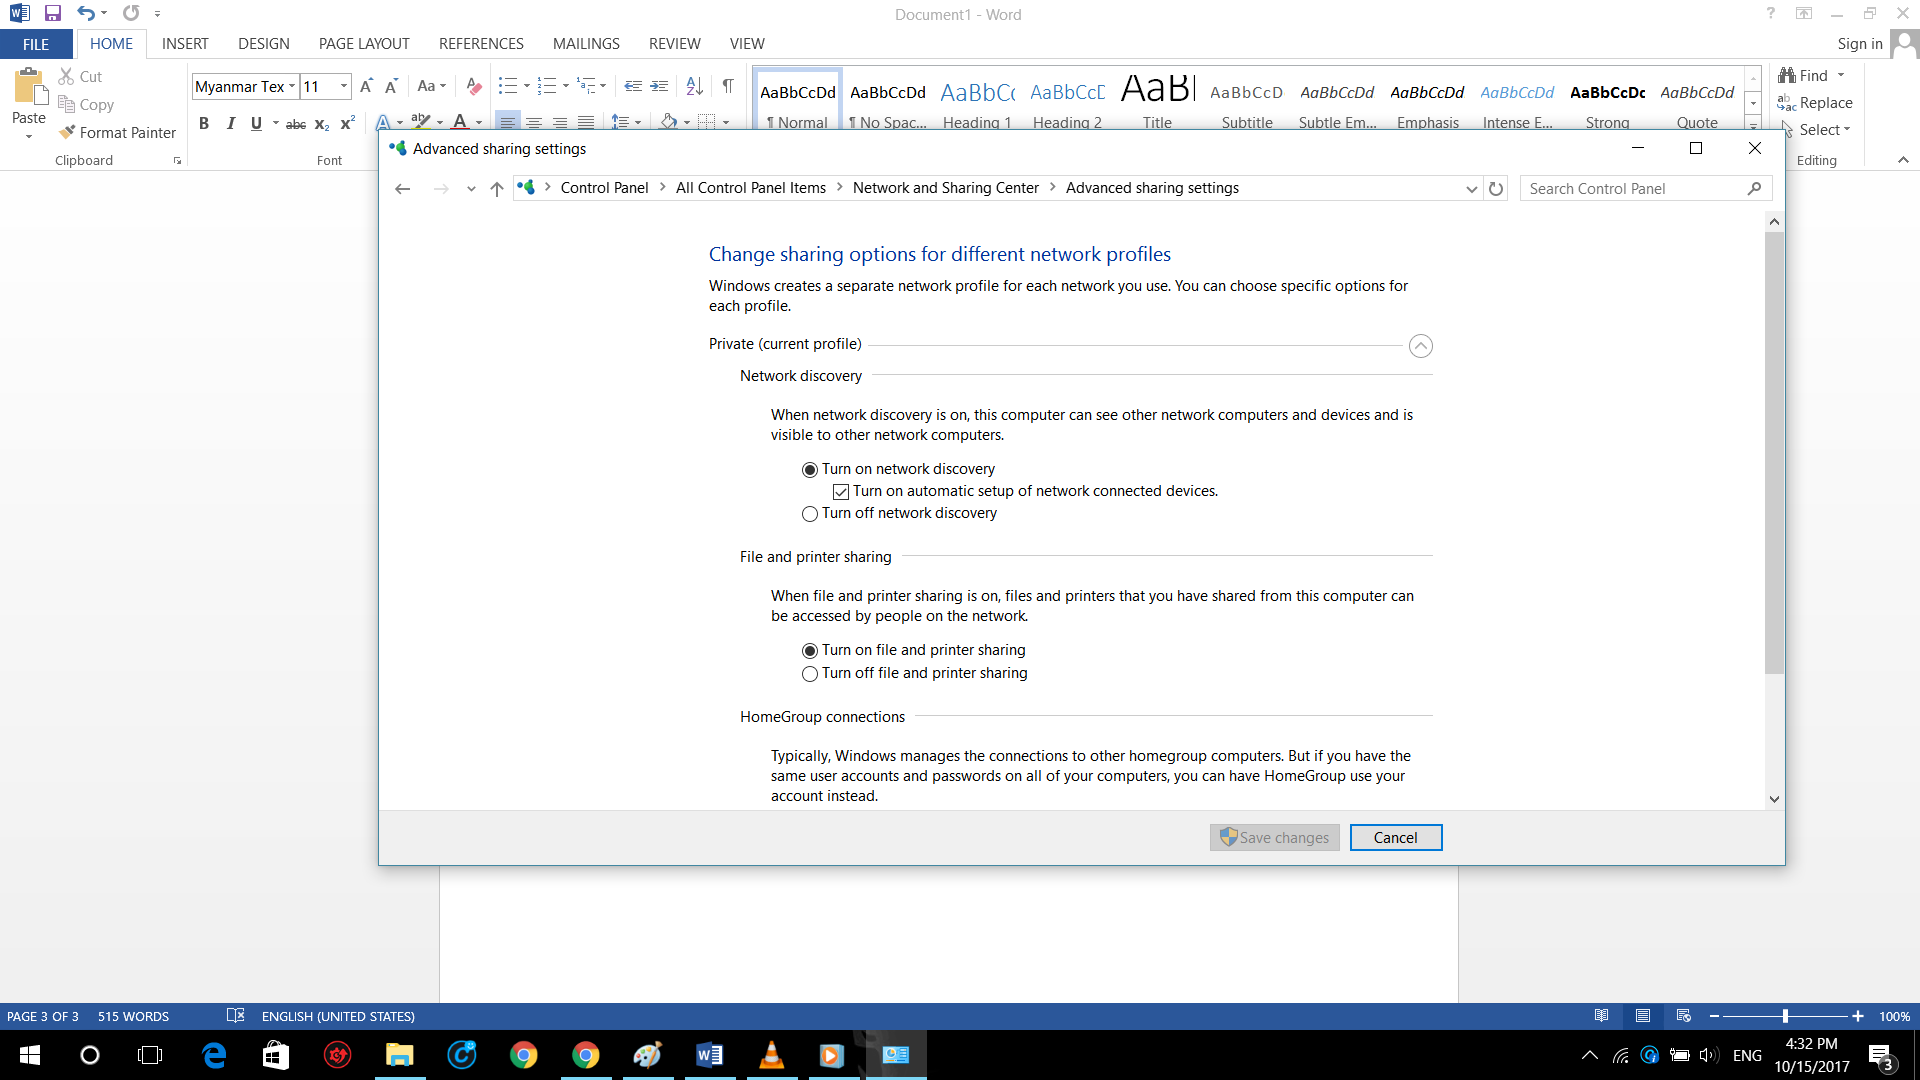
Please note that you must have Windows’ Network Discovery turned on to see the PCs on the network. If it is not already turned on, turn on Network Discovery from Windows’ Control Panel > Network and Sharing Center > Advanced Sharing Settings.
Sharing Files from Windows PC to Mac
If you want to share files from a Windows PC to a Mac, or connect from a Mac to Windows, it can be a little inconvenient.
First, you need to turn on Network Discovery and File and Printer Sharing from your Windows Control Panel > Network and Sharing Center > Advanced Sharing Settings.
Connecting directly from Finder
- At this point, you should see the Windows PC listed under Shared in the Side Bar of your Mac’s Finder.
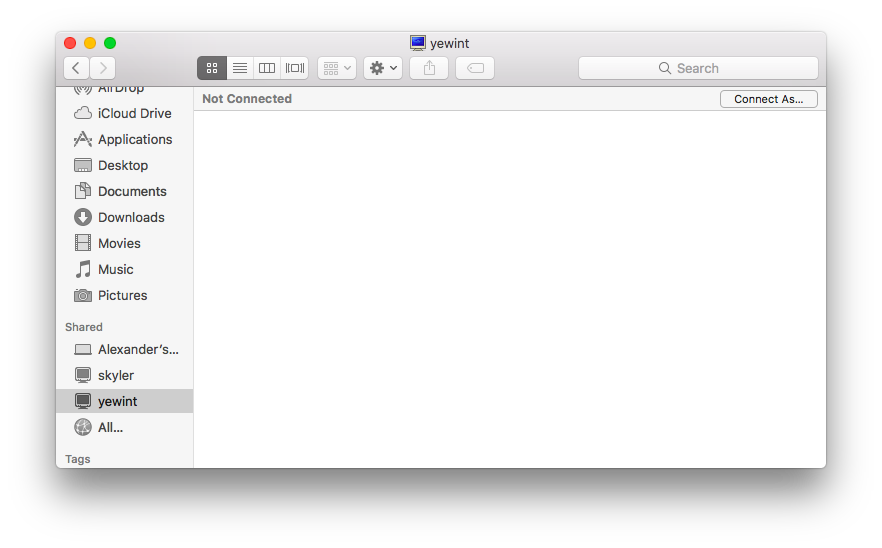
- If Shared doesn’t appear in the Side Bar in Finder, you’ll need to go to the Side Bar menu in Finder’s Preferences and turn on Shared.

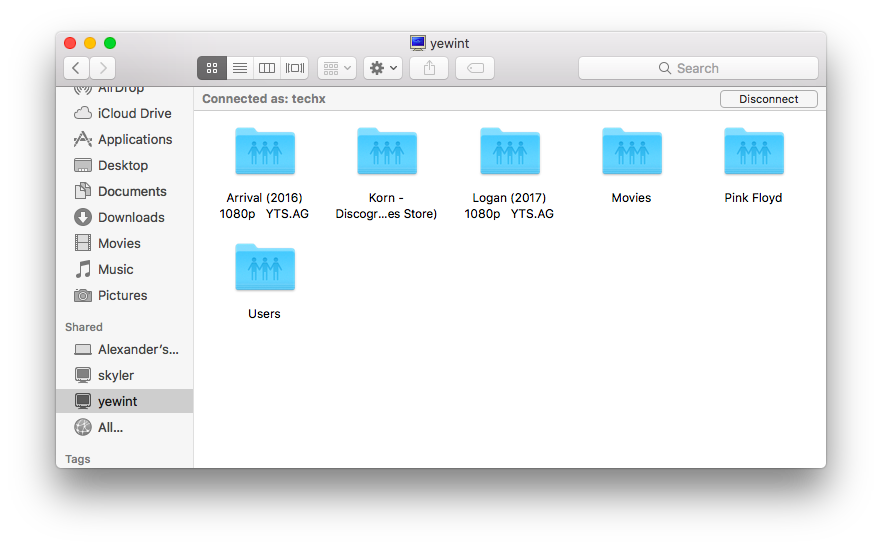
- Then, under Shared, click on the Windows PC you want to connect to and connect. If it is Not Connected, click on “Connect As” on the right side, enter the User Name and Password of the Windows PC and connect.
- If you are unable to connect at all, try disabling the firewall on the other Windows PC.
- Once connected, you can access all the folders shared from your Windows PC from your Mac.
Connecting with SMB Protocol
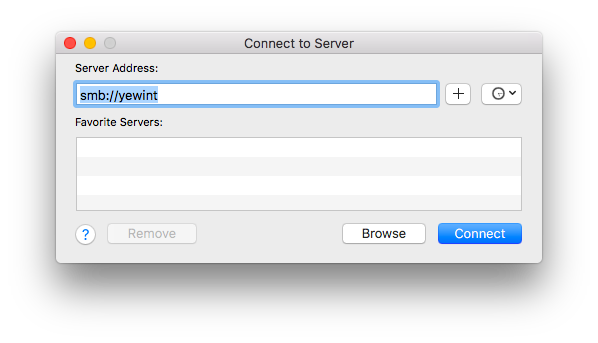
- If you can’t connect to your Windows PC from Finder, you can also try connecting to your Windows PC using SMB (Server Message Block Protocol).
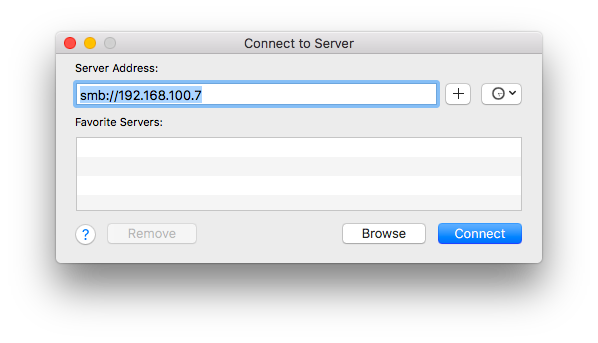
- To use the SMB Protocol, press Command+K on a Mac.
- Then you can connect by typing smb://PC Name. On the other hand, you need to know the Computer Name of your Windows PC. For example, if your Windows Computer Name is “YeWint”, you should type “smb://YeWint”. If you don’t know the Computer Name of your Windows PC, you can press the Windows Key and type PC Name to search for it.
- You can connect to SMB using the Windows IP Address instead of the PC Name. You can find the IP Address of your PC by pressing Windows+R, typing cmd, and typing ipconfig. You will find the IP Address under the IPv4 Address of your Ethernet Adapter or Wireless LAN Adapter Wi-Fi. For example, if the IP Address is 192.168.100.6, on a Mac, you will type smb://192.168.100.6 to connect.
- After connecting using IP Address or PC Name and SMB Protocol, enter the User Name and Address of the Windows PC and connect.

- Your Windows PC will then ask you which shared folders you want to mount. Select the folder you want.

- At this stage, the newly mounted Windows folder can be accessed from the Mac’s Finder.

This method is a way to share files between Windows and Mac on the same Wi-Fi network, and I hope you find it useful.


Post Comment