


")


How to calibrate the display of your computer to ensure correct color

Does your computer display sometimes have incorrect colors, or is it brighter or darker than usual? If so, you can restore the color accuracy of your display by performing a display calibration. This method is not only for Windows users, but also for Mac users.
First, turn on the monitor you are going to calibrate the display for at least 30 minutes. Set it to the highest resolution the monitor supports, and if you have lowered the resolution, reset it.
For Windows
For Windows OS users, if you search for Calibrate in Control Panel – Search and select Calibrate Display Color under Display or Calibrate Display in Color Management – Advanced, the Display Color Calibration Tools window will appear. In WIndows 10, you can access this tool by pressing the Windows Key and typing Calibrate Display Color.
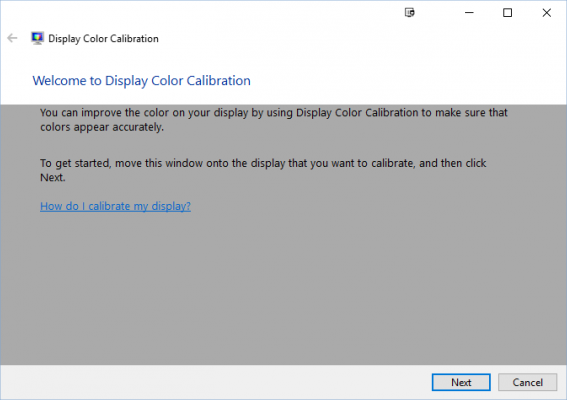
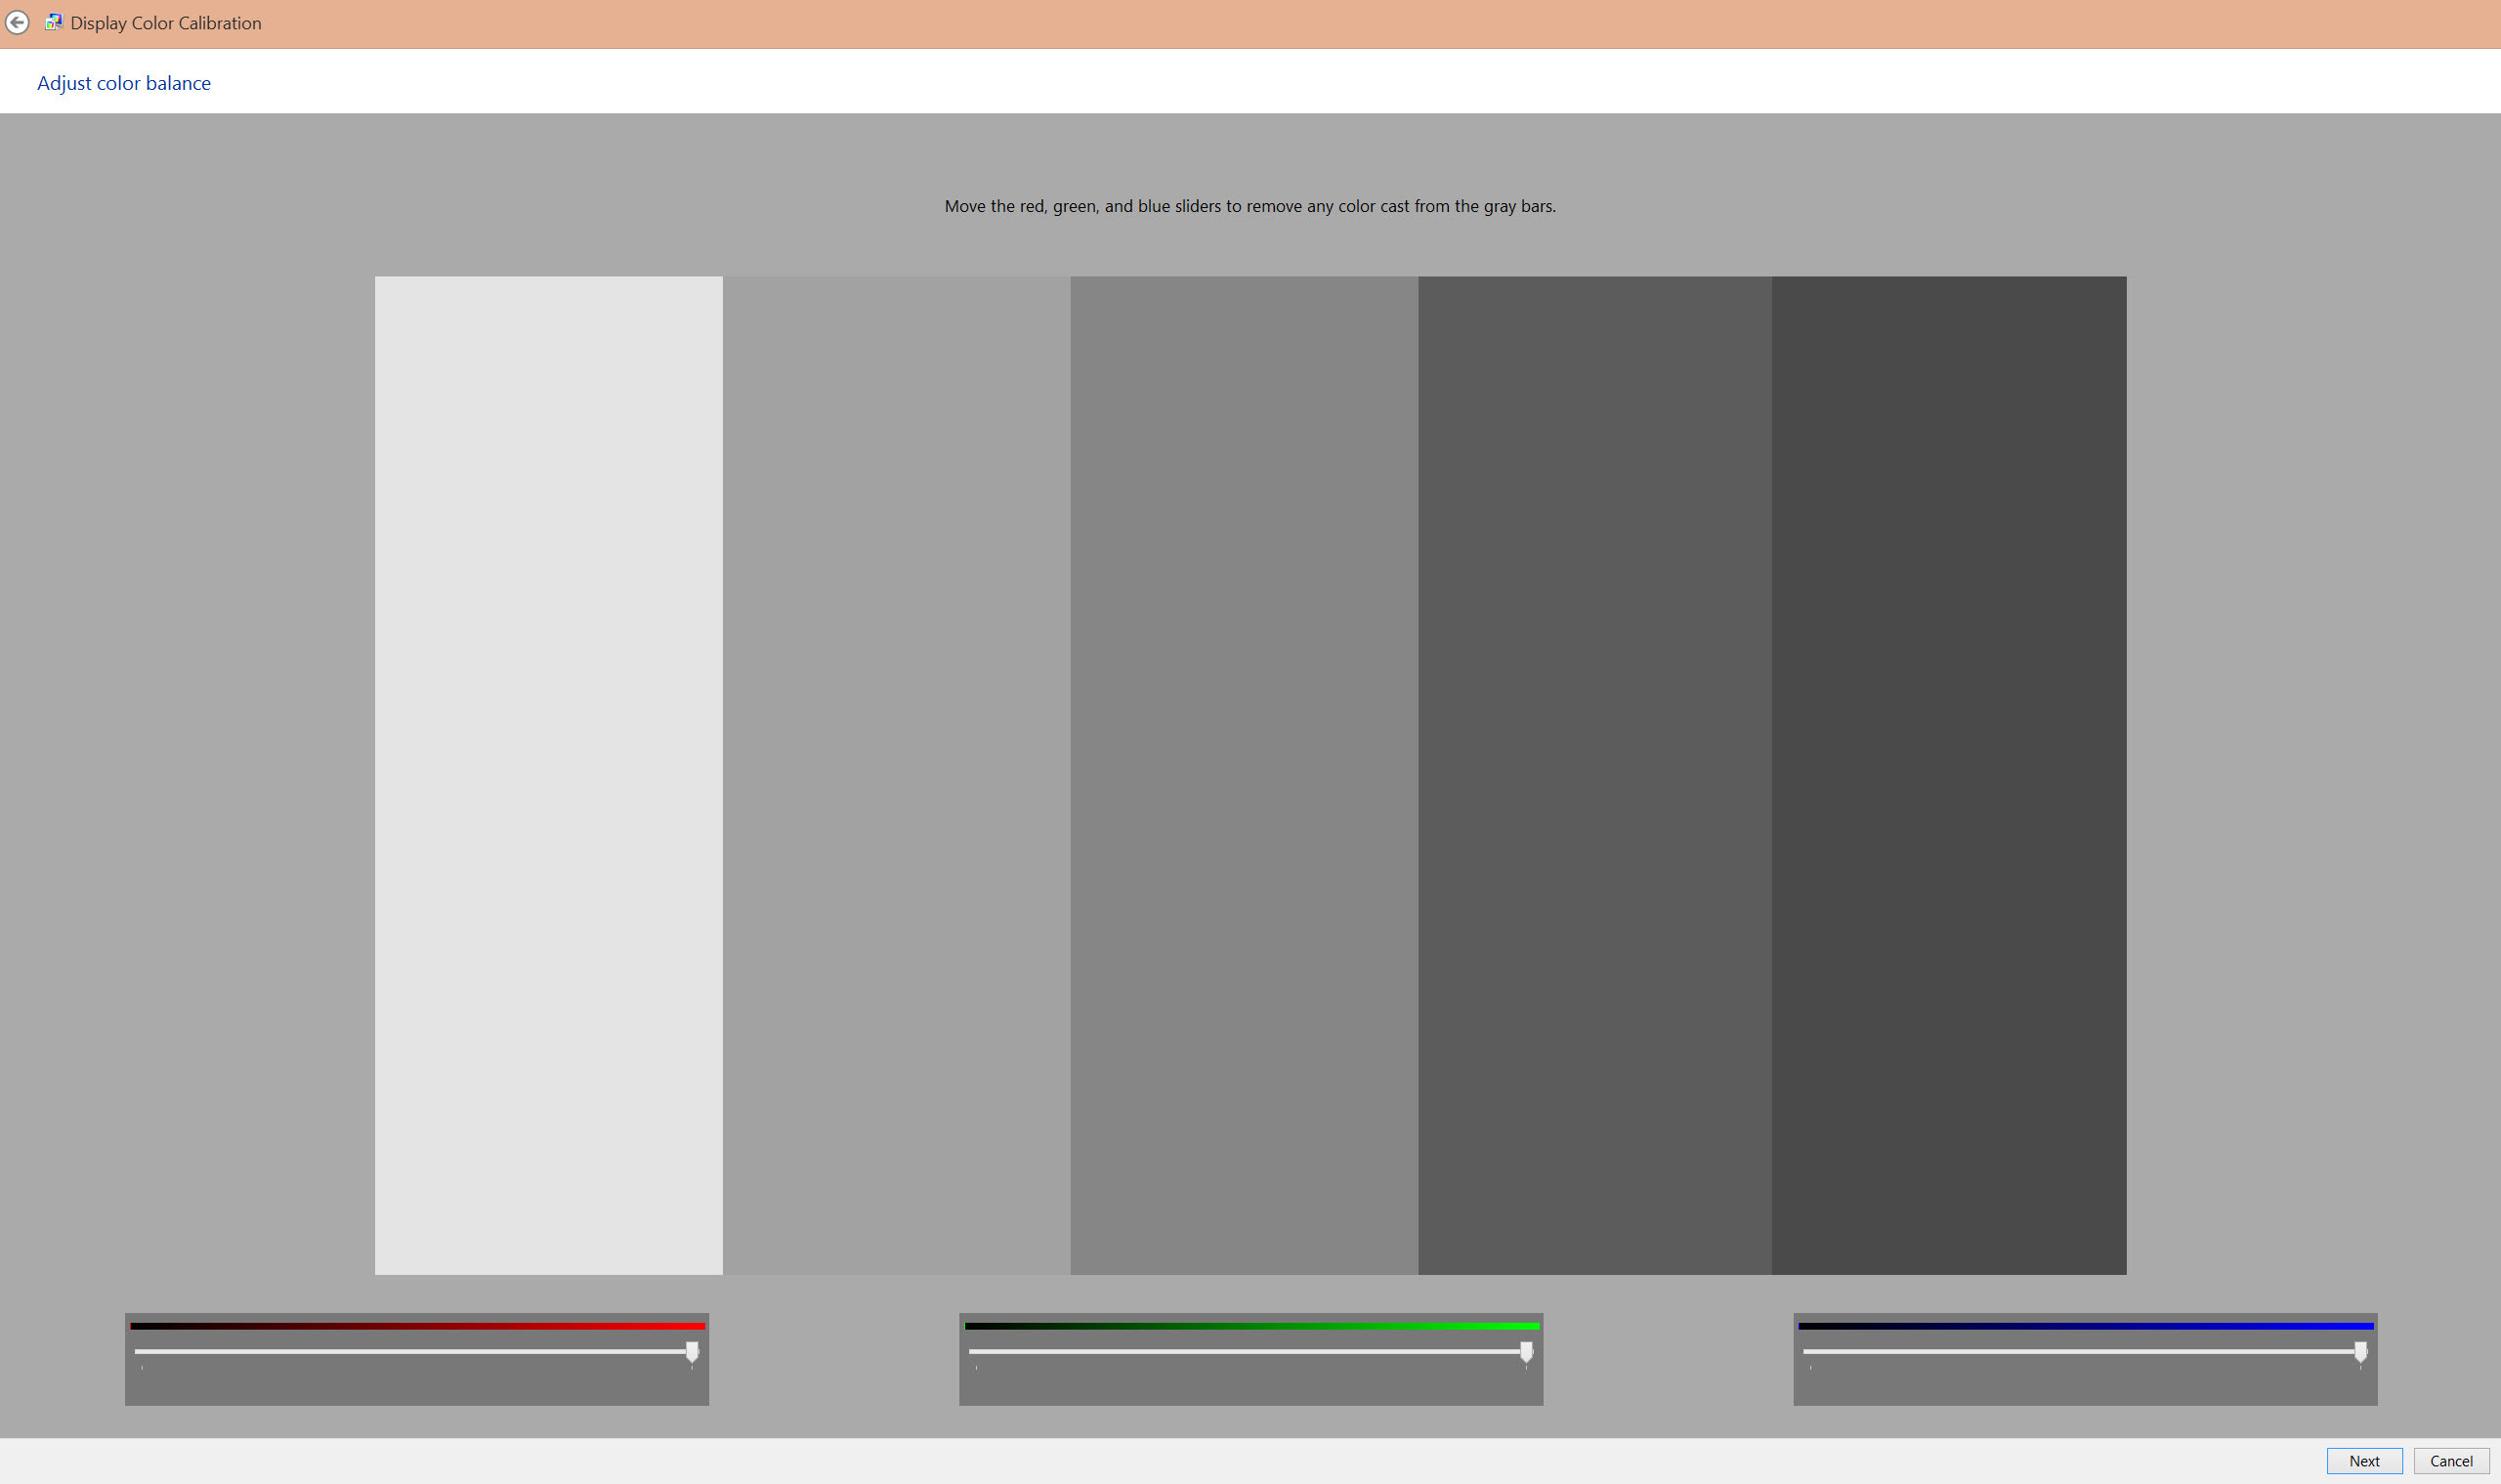
From there, you can adjust the Gamma, Brightness, and Contrast levels for each Test Image to your eye comfort level. Once adjusted, you will have a display that is more comfortable to view than before.
Once Color Calibration is complete, an option will appear to check if the font is ClearType, and you can change the way the text is displayed to ClearType or something else.
For Mac OS X
Mac OS X users can calibrate their display through the Display Calibrator Assistant by selecting the Color tab in System Preferences > Display and clicking Calibrate.
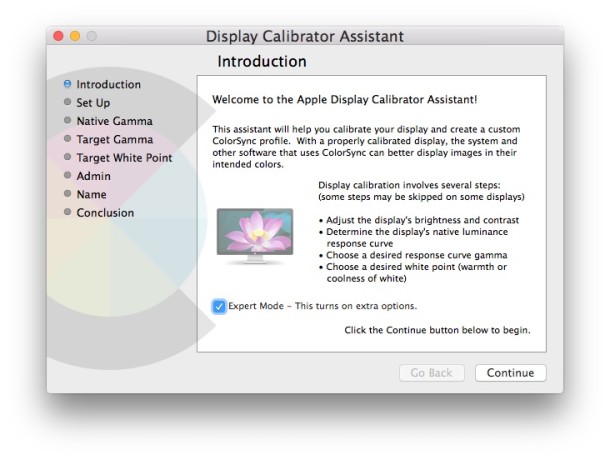
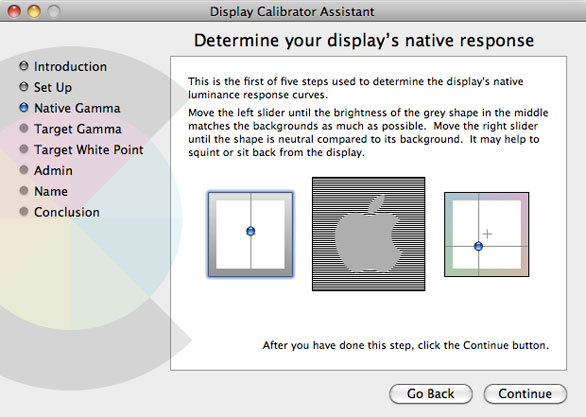
Mac OS X includes an Expert Mode that allows you to adjust more settings than a normal calibration, including up to 5 patterns for Native Gamma and more options for adjusting Target Gamma. Expert Mode requires Administrator access, so you can choose whether other users can use the calibrated settings or not.
I hope that with the methods described above, you can adjust your computer display to your liking, resulting in a better display.


Post Comment